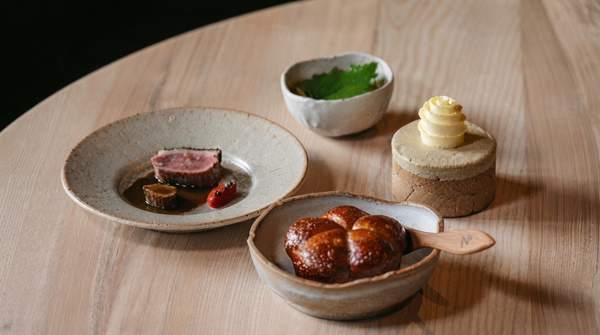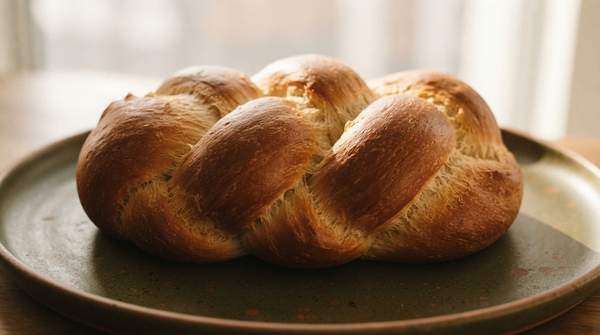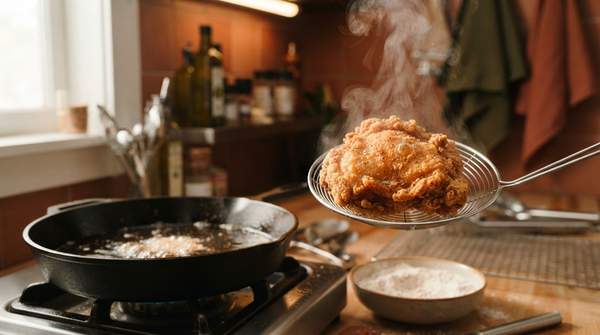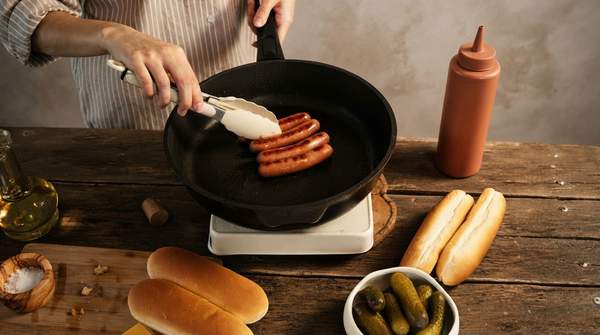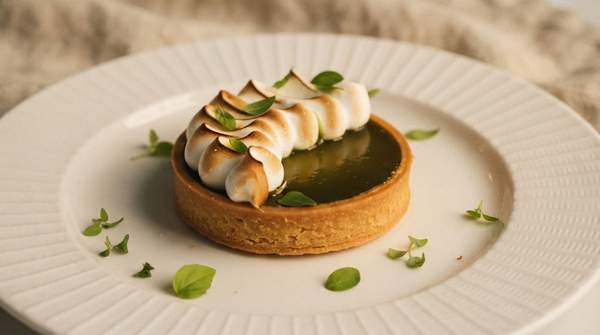
You don't need a studio, a strobe, or a camera that costs more than your oven to take food photos worth sharing. What you need is a window, a piece of white card, a handful of crumbs, and a way of thinking about your photo as a problem to be diagnosed rather than a shot to be hoped for. That's the approach I've distilled from working photographers and food photography educators: fix the light first, then style for story, then shoot from enough angles to give yourself something worth choosing. Below, I'll walk you through each of those steps and hand you a simple troubleshooting framework at the end that maps the frustrating phrase "this photo just looks off" to a specific, actionable fix.
Mastering Natural Light: Your Home Studio Setup
Start with the setup that costs nothing: a window. The photography educators at Click Love Grow, whose home food photography course material is built around exactly this scenario, describe a "simple home studio that uses natural light and home-made backdrops" that students can easily re-create to start producing polished food photos at home. That's the whole station: a window for your light, a table near it, and a backdrop you can improvise from what you already own. No blackout curtains, no softboxes.
The key decision is where your light comes from relative to the dish. When food photographer Jonathan Pollack shoots indoors, he typically diffuses his light "from behind or off to the side of the food," then uses "reflectors to bounce some light back to the front of the dish, if needed." The same geometry works with daylight: put your dish beside the window rather than dead-on beneath it, so the light sweeps across the surface of the food instead of hitting it flat and straight. Side-to-back light is what gives texture its drama—the ridges on a pasta shell, the crust on a loaf, the gloss on a sauce.
That single strong light source will also give you shadows, and that's where your reflector earns its keep. A reflector is anything large, white, and free: a piece of white card, a foam board, a propped-up pillowcase. Position it on the opposite side of the dish from the window and it bounces window light back into the shadowed side, softening the contrast without flattening the image. Pollack's budget-friendly version of the same idea is even simpler—rather than an expensive diffuser, he suggests "inexpensive work lights and putting white linens between the lights and your food" when natural light isn't an option, such as for a dinner that happens after dark. The linen does the diffusing; the reflector does the filling; the window (or the lamp) does the rest.
One practical note from Pollack that home cooks often overlook: if you're photographing across several hours—say, a recipe series for your feed—and you want every shot to look consistent, that's when a simple artificial setup beats chasing the sun. For most single-dish shots, though, the window station will carry you.
Styling for Story: Making Food Photos Dynamic
Once the light is under control, the difference between a photo that documents dinner and a photo people linger on is almost always story. The good news is that the two highest-impact styling moves are also the two easiest ones.
The first is what the food photographers at Click Love Grow call "a human touch." As they put it: "I scatter some crumbs, take a bite out of something, toss some herbs around, let some ice cream melt on the tray. By bringing this little bit of imperfection to the image it seems to make it more desirable." I love this framing because it inverts every beginner's instinct. We spend all this energy making the plate perfect, and then the photo feels like a museum exhibit—beautiful, sterile, untouchable. A bite taken, a crumb scattered, a spoon resting in the pot with sauce on it: these small imperfections signal that someone is actually eating this food, and viewers respond to that life.
The second move is to let your ingredients back onto the set. Among the contributor tips compiled by Rachel Korinek at Two Loves Studio, one stylist, Diana of Dreams Factory Des, calls this "another life-changing element": including "one or two of the ingredients used in the recipe as props with the final product." A lemon half beside the finished cake, whole spices scattered near the curry, the raw eggs that went into the carbonara. The dish tells the viewer what it is; the ingredients tell the viewer where it came from, and that layering makes the image richer and more appealing.
A third habit from Click Love Grow belongs more to composition than styling, but it completes the picture: "Take photos from lots of different angles. It gives you a larger number of images to select from and sometimes you get pleasantly surprised." Their recommendation is to shoot handheld for exactly this reason—the one exception being when you want your own hands in the frame, where a tripod and a self-timer or remote do the work.
Food Photography Troubleshooting Framework for Home Cooks
Here is the framework in one place. Find the phrase that matches what's wrong with your photo, and the table tells you the fix and the technique behind it. Each solution below is drawn from the working photographers cited throughout this piece.
| What you're seeing | Category | The fix | How it works |
|---|---|---|---|
| Shadows are too dark and heavy on one side of the dish | Lighting | Prop a white card or foam board opposite the light source | The white surface bounces light back onto the shadowed side, softening contrast. Most effective with a single natural light source like a window. |
| Light feels harsh or glaring on the food | Lighting | Put a white linen between the light and your dish | The fabric diffuses the light, spreading it more gently across the food—a budget-friendly diffusion approach recommended by Jonathan Pollack for indoor work lights. |
| The dish looks sterile, like nobody could ever actually eat it | Styling | Add a human touch: scatter crumbs, take a bite, toss herbs, let ice cream melt | Deliberate imperfection signals life and makes the image more desirable and engaging for viewers. |
| The scene feels empty or the dish lacks context | Styling | Place one or two ingredients from the recipe in the frame as props | Raw ingredients alongside the finished dish add layers and visual interest, telling the story of where the food came from. |
| Every shot feels the same and none of them is quite right | Composition | Reshoot from several different angles and choose from a larger set | Shooting handheld and moving around the dish yields more options and, per Click Love Grow, occasional pleasant surprises. |
Notice what this table does for you: it converts "my photo is bad" into a specific diagnosis, and each diagnosis into one physical action. You're no longer guessing at camera settings; you're moving a piece of card or scattering a handful of herbs. That's the entire difference between an afternoon of frustrating reshoots and a ten-minute setup that works.
Elevate Your Food Photos: A Simple Path to Stunning Results
So here's the decision I'd urge on any home cook: stop treating food photos as luck, and start treating them as a repeatable three-step routine. Set up beside a window with the light coming from the side or behind; fill the shadows with a white card; then style for story with a human touch and an ingredient or two as props. When the result disappoints, consult the framework above rather than your doubts—find the row that matches the flaw, apply its fix, and reshoot.
Your measurable next step is concrete: at your next cooked meal, build the window station, shoot the dish from at least three or four different angles as Click Love Grow recommends, apply one styling element, and compare the set before you post. You'll have a larger selection to choose from, and the winner will be visibly different from the shot you'd have taken standing where you used to. That's not a vague promise of improvement—it's the exact difference between one photo and a choice.
Sources
- How To Take Magazine Worthy Food Photography At Home — Click Love Grow
- Food Photography Techniques and Tips — Digital Photography School
- 99 Food Photography Tips To Blow Your Mind — Two Loves Studio